Showing posts with label how to. Show all posts

Wednesday, October 26, 2011

How to Have a Great Engagement Photo Session


I had the privilege of shadowing a brilliant photographer, Renee Brock, during an engagement session this weekend with two adorable law students.  I’m only an amateur photographer, but the shoot was beautiful and I learned a lot from it.


First of all, choose your photographer well.  And I don’t mean choose an expensive photographer.  Make sure it’s someone whose style you like and whose subjects’ personalities show through their work.  That will make it a lot easier for you to open up for the camera.  Plus, the engagement session can serve as a test run for a photographer, so even if you don’t end up liking this one, it will help out in choosing one for the wedding day.


Don’t be afraid to open up!  By all means, let your freak flag fly.  You may not know your photographer very well, but he or she will have a much easier time of capturing your personality if you come out of your shell a bit.  This is the best way to avoid lame, cliché photos:  just be yourself.

Photo from Buzzfeed.

Pick a great location.  It’s best if you’re familiar with the location, and it's magical and golden if you have history with the place.  For instance, the bride I helped photograph this weekend grew up around farms, so they chose a friend’s adorable farm for the shoot.  It was gorgeous, and the typical, cheesy, sitting-on-the-tractor shots had no appeal for them because they associated it with mowing the lawn.  Instead, we got some gorgeous shots of them picking the fruit they knew by name and goofing around in a crumbly old farm.


Have fun!  This isn’t something to prepare for, really.  Just bring a sense of humor (and a change of boots for walking around a farm property—smart woman!) and your pictures will turn out great.  Don’t worry about fake smiles and weird poses.  If you or your spouse-to-be can’t smile for real, crack a joke.  Shake out the stiffness.  If a pose feels weird, don’t hold it.  And most of all, keep it spontaneous.  Some of the best shots, in my opinion, are made when couples go rogue and do something unexpected.

 
Photo from 100 LayerCake.

Last, use the photos well!  You can use your engagement photos for a huge range of things, from guestbooks to framed photos for your new home to sweet cards.  I remember Joanna of Cup of Jo used hers for their save the date, and it turned out adorably (like everything that woman does).

I hope your engagement shoots go swimmingly!  We'd love to hear how they turn out.
Megan

Thursday, July 14, 2011

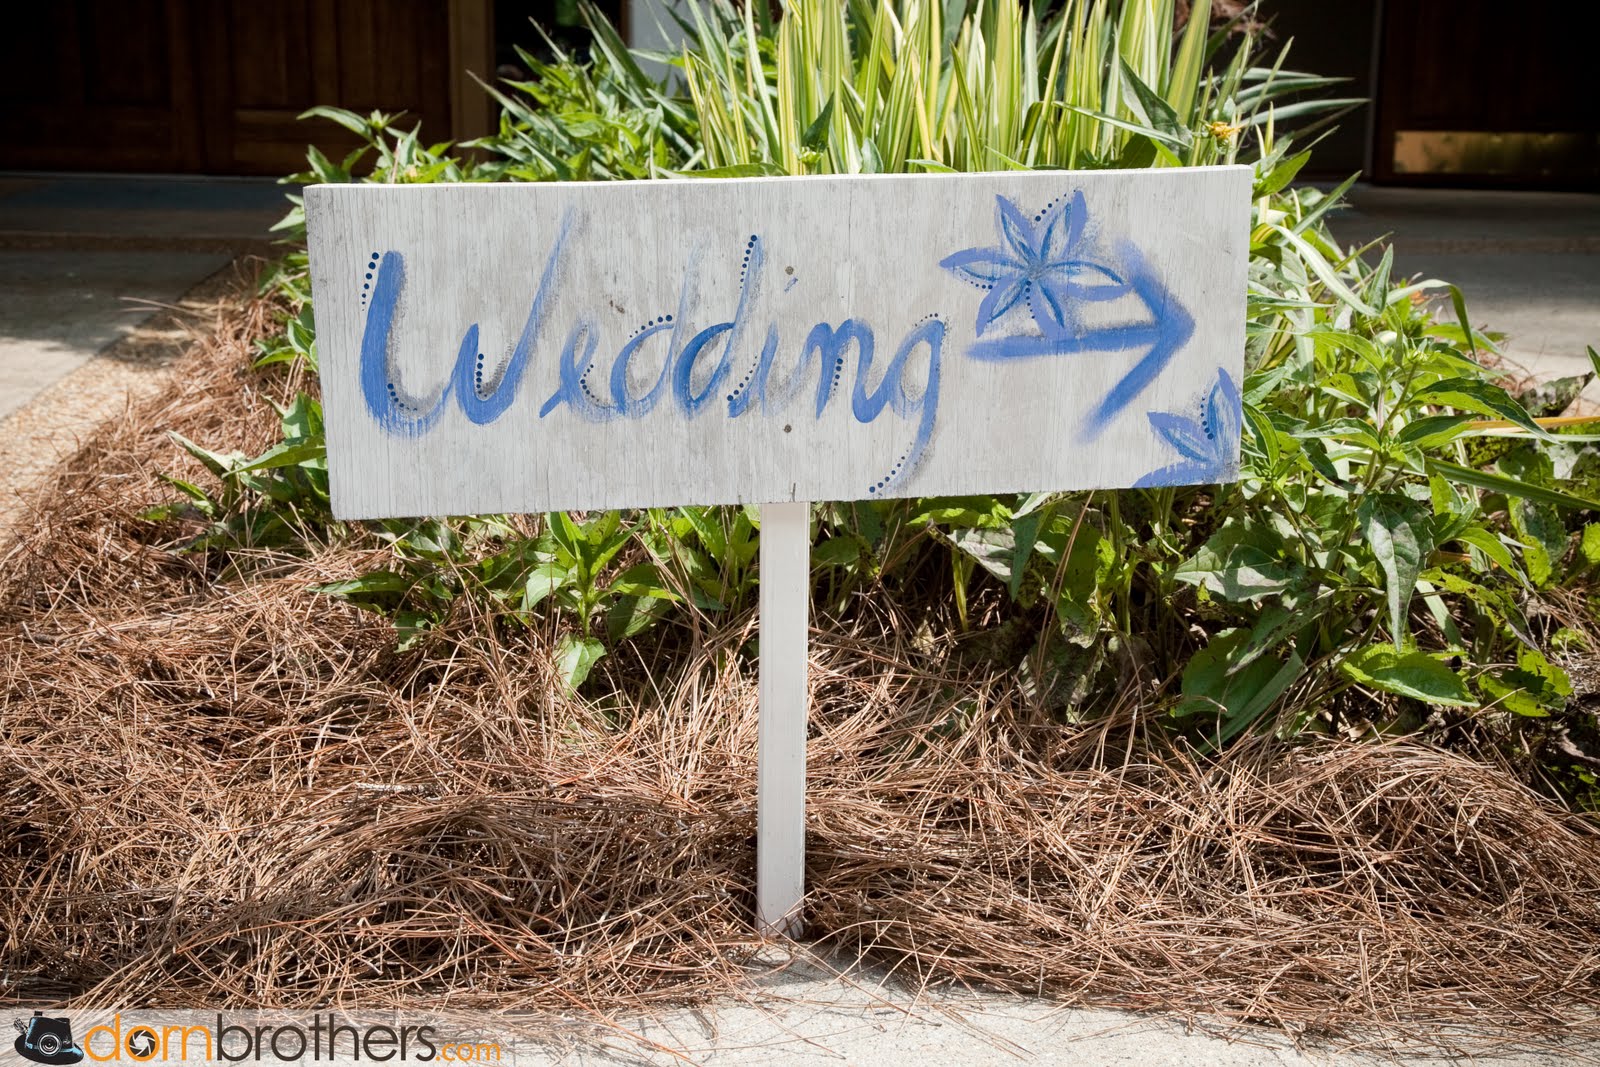
DIY Wedding Signs


I am loving the DIY wedding signs lately! 
It is easy to do and a unique touch for your day. These signs add so much character to a wedding, and it is easy to be creative and add your own touches on them.

They don't cost much money, and if you are lucky you may already have some of the things you need!

Shot by Lang Photographers

Heather & Tim's Wedding at Roswell River Landing
Photo: Dorn Brothers Photography
Tammy & Troy's Wedding in St. Thomas, USVI
Photo: PhotoSynthesis Studio

Here is what you Need:
1. A piece of wood. Or a few depending on how many signs you plan to make.
2. Leftover paint. You do not need much maybe half a cup.
3. A small paintbrush.
4. A few hours.


How To:

Draw on a piece of paper the word you want to paint on the wood. Remember Bubble Letters in elementary school? This is the time to re-visit that skill! Or you can go the easy route and find a font you like on Word and print them on the computer. Make sure it is the size you want it to appear on the sign. With scissors, cut out the word, e.g. "Wedding." 

Place the paper on top of  the wood and tape it in place so it doesn't move.
Draw a pencil line along the edges of the word, so that when you remove the paper
you can see the outline of "Wedding."

Now you are ready to add the paint. Use a small paint brush to fill in the penciled
outline with your paint. It may be a good idea to go over the word a few times to
make sure it is able to be seen from a distance.

When your paint is dry, cut the piece of wood (if you haven't done so already) to the
chosen size.Then you can attach it to a pole with a few screws, or use a rope
or chain to hang it from an archway.

I hope you have fun creating your own signs. Be creative and make them "you!" 
I would love to see them so send me a picture
on Twitter or shoot me and Email with them!

Have fun!
Elizabeth

Monday, June 23, 2008

Invitations - Just a Piece of the Puzzle

In the sales world, we know that it takes 5-7 repeats (or “touches”) for a sale to be made to a new prospect. When hosting an event, it is imperative that the host understands he/she is in essence “selling” the guest on the idea of spending their otherwise free time with the host. Invitations are just a method of Marketing for an event. They are a “touch.”

I5 (Invitations to the 5th Power) is a marketing method for event attendance success. The I5 system assumes the host has at least one or two touches with the attendee, meaning the attendee will at least know the name of the host when the invitation comes in the mail. Note: for those events geared to gaining face time with “suspects” or business prospects who are not yet familiar with the company or host, more than five touches will need to be made.

For the purposes of counting to five, we will start at Touch 1. However, remember, this is not truly the first touch the host has had with the attendee.

Touch 1: Save the Date Card. These need to be mailed (email is ok, not preferred) no later than eight weeks prior to the event. This allows the attendee to put the date in his/her calendar and/or change his calendar to accommodate the event.

Touch 2: THE INVITATION! These should ALWAYS be mailed. Hand addressed. With a stamp. Your invitee will appreciate getting something so personal in the mail. This allows the host to set the tone for the event (formal/casual/byob/etc) and to establish rsvp expectations. These should be mailed during week 6 prior to the event.

Touch 3: Follow up email. This should go to all attendees. If they’ve already rsvp’d, that’s great. This is just one more reminder of the party. Those who haven’t rsvp’d, this is a good reminder to do so. These should go out during week 3 prior to the event.

Touch 4: Thank you notes or emails to early RSVP’ers and phone calls to those who haven’t. It’s important to recognize the behaviors we want to see repeated. RSVP’ing in this day and age is definitely a behavior we want to see repeated! Phone calls to those who have not rsvp’d. It is absolutely appropriate for you as the host to call those who haven’t been polite enough to tell you if they plan to eat the food you’re providing. You don’t want to run out of food do you? Or worse yet, you don’t want to over-spend to accommodate those who might show up. These should happen 7-10 days prior to the event.

Touch 5: Send Thank You Cards to the attendees. Some hostesses look at me and say, “They came to my house and ate my food; why should I send them a thank you card?” Because it’s good manners and those attendees will remember you and come to your party next year! These should go out the week after the party.

Links We love

 
Blog Template by Delicious Design Studio